

GROUND MOUNT
SOLAR
POOL
HEATER SYSTEMS
Plan and Build a Ground-Mounted Solar Pool Heating System With Helpful Rack Diagrams and Engineering Reference Drawings
How to Plan and Build a Ground Rack for Solar Pool Heating Panels
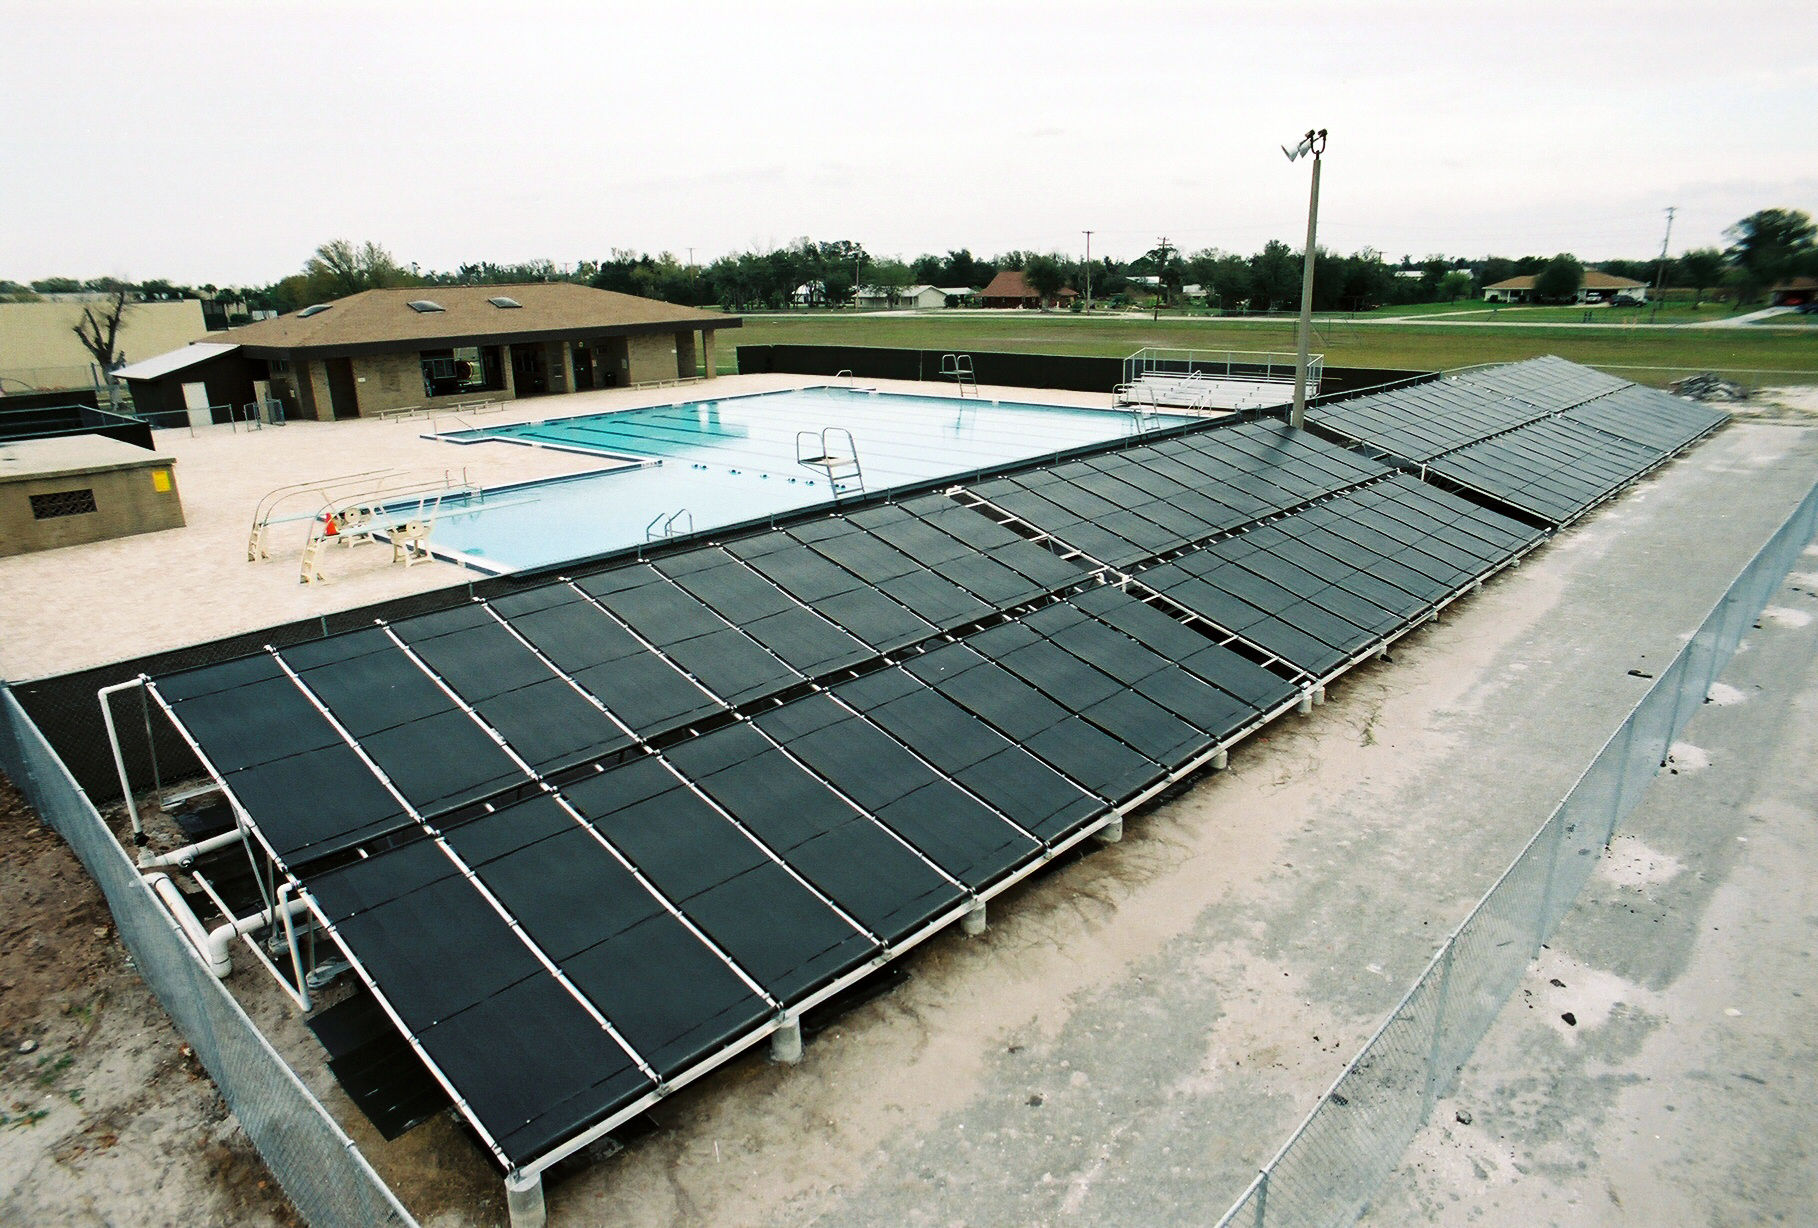
A ground-mounted solar pool heater is an excellent alternative when your roof does not have enough usable space, receives too much shade or is not suitable for mounting solar pool panels.
A properly planned ground rack can support a complete solar pool heating system while providing convenient access for inspection, maintenance and future panel replacement.
This guide explains the major planning requirements and provides downloadable ground-rack diagrams to help you understand how a typical wood-framed solar pool panel rack may be constructed.
[REQUEST A FREE SYSTEM DESIGN]


Is a Ground-Mounted Solar Pool Heater Right for Your Property?
A ground-mounted system may be a good option when:
-
The house roof does not have enough space for the required panels
-
The roof faces an unfavorable direction
-
Trees or surrounding buildings shade the roof
-
The roof material is unsuitable for panel attachment
-
You do not want to install solar collectors on the house
-
An open area near the pool receives better sunlight
-
You want easier access to the panels
-
You are building a shed, pergola or separate rack for the solar collectors
The available ground area must be large enough for the required collector coverage and positioned where the panels will receive strong sunlight during the swimming season.
How a Ground-Mounted Solar Pool Heater Works
A ground-mounted system operates the same way as a roof-mounted solar pool heater.
Pool water is diverted from the existing filtration system and circulated through the solar collectors. Sunlight heats the water as it passes through the panels, and the warmed water returns to the pool.
A solar controller can automatically direct water through the panels when solar heating is available and bypass the panels when conditions are not favourable.
The primary difference is that the solar collectors are installed on a purpose-built ground rack instead of a roof.
Ground Rack Location and Orientation
The rack should be installed in an open area with as little shade as possible.
Before selecting the location, consider:
-
Sun exposure throughout the day
-
Seasonal changes in tree and building shadows
-
Distance between the rack and pool equipment
-
Available space for the required number of panels
-
Underground utilities
-
Soil and drainage conditions
-
Wind exposure
-
Snow loads where applicable
-
Access for construction and maintenance
-
Local setbacks, permits and building requirements
In the United States, a generally south-facing collector orientation normally provides the best solar exposure. Southeast and southwest orientations may also work effectively when the system is sized appropriately.
The ideal rack angle depends on the property location, swimming season and system design. The reference diagram shows a rack angle within approximately 15 degrees above or below the local latitude, but the best angle for a seasonal pool-heating system may differ.
[USE THE SOLAR POOL HEATER SIZING CALCULATOR]
Ground Rack Location and Orientation
The required rack size depends on:
-
Pool surface area
-
Geographic location
-
Desired pool temperature
-
Length of the swimming season
-
Panel size
-
Panel orientation
-
Available sunlight
-
Pool cover usage
-
Wind and shading conditions
Common Techno-Solis panel sizes include:
-
4 × 8 feet
-
4 × 10 feet
-
4 × 12 feet
The conceptual ground-rack diagram shows approximate rack dimensions for these panel lengths. Additional space is required for headers, plumbing connections, structural framing and access around the rack.
Do not build the rack until the required number and size of panels have been confirmed.
[REQUEST HELP SIZING YOUR SYSTEM]
Ground Rack Layout Diagram
The following diagram illustrates a typical pressure-treated wood ground rack for solar pool heating panels.
It includes:
-
Top-view panel and framing layout
-
Side-view rack construction
-
Typical panel-support spacing
-
Pressure-treated framing
-
Post and footing locations
-
Cross-bracing
-
Header support
-
Mounting clips and straps
-
Allowance for panel expansion and contraction
-
Approximate rack-angle guidance


Engineering and Permit Notice
These documents are provided as general planning and historical reference materials. They are not a site-specific engineered design and should not be represented as approved construction documents for every property or jurisdiction.
Requirements may have changed since the drawings were originally prepared. Rack construction must account for current building codes, soil conditions, footing requirements, wind loads, snow loads, flood conditions, corrosion exposure and the panel manufacturer’s current installation requirements.
Contact your local building department before construction. Where required, have the rack reviewed or designed by a licensed engineer familiar with the conditions at your property.
Important Ground Rack Construction Considerations
Structural support
The rack must support the weight of the solar collectors, water, plumbing and mounting hardware. It must also resist wind uplift and other environmental loads.
Panel support
The collectors require continuous and correctly spaced support. Unsupported headers or absorber sections can sag, become damaged or place excessive stress on the panel connections.
Expansion and contraction
Solar collectors expand when heated and contract when cooled. The mounting system must secure the panels while allowing the movement required by the manufacturer.
Cross-bracing
A raised or angled rack may require substantial diagonal and lateral bracing. Bracing requirements depend on rack size, height, angle and local structural loads.
Footings and soil
Posts and concrete footings must be appropriate for local soil, frost depth, wind exposure and code requirements. The dimensions shown in a reference drawing should not automatically be assumed suitable for every property.
Materials
Exterior-rated and corrosion-resistant materials should be used. Pressure-treated lumber, stainless steel fasteners and solar-pool-panel mounting hardware are commonly used, but the final material specifications must match the approved design.
Ground-Mount Plumbing Requirements
The rack location affects the plumbing design and pool-pump requirements.
Important considerations include:
-
Total distance from the pool equipment to the rack
-
Pipe diameter
-
Vertical elevation
-
Number of panels
-
Required system flow
-
Feed and return pipe routing
-
Check-valve placement
-
Vacuum-relief-valve placement
-
Automatic control-valve configuration
-
Complete gravity drainage
-
Freeze protection
Whenever possible, supply water should enter the lower portion of the panel array and return from the opposite upper corner. This promotes balanced flow through the collectors.
The panels and exterior plumbing must be capable of draining completely when the pool pump turns off. If freezing weather is possible, follow an appropriate winterization procedure.
Long plumbing runs, elevated racks and large arrays may require a hydraulic review to confirm that the existing pool pump can provide adequate flow.
Basic Ground-Mount Planning Process
-
Measure the pool’s surface area.
-
Determine the recommended solar collector coverage.
-
Select the panel size and quantity.
-
Identify a sunny ground-mount location.
-
Measure the available rack area.
-
Determine the preferred rack orientation and angle.
-
Plan the feed and return plumbing route.
-
Check local setback, permitting and engineering requirements.
-
Finalize the rack design for site-specific loads.
-
Construct the rack before installing and plumbing the panels.
-
Install the panels using approved mounting hardware.
-
Test the complete system for proper flow, drainage and leaks.
Our free design support can help determine the recommended panel quantity and evaluate the available installation area. Structural rack design and permitting remain the responsibility of the property owner and qualified local professionals.
Ground Mount Versus Roof Mount
Ground-mount advantages
-
Avoids roof penetrations
-
Provides easier access to the panels
-
Can use a sunnier area of the property
-
Makes inspection and replacement easier
-
Can be oriented independently of the house
-
May provide space for a larger collector array
Ground-mount considerations
-
Requires substantial open ground area
-
Requires a separate structural rack
-
May require concrete footings and permits
-
Can involve longer plumbing runs
-
May be more exposed to accidental damage
-
May require fencing or protection
-
Can increase material and construction costs
The best option depends on the available roof area, ground space, sunlight, plumbing distance and local construction requirements.
Can Solar Pool Panels Be Installed Flat on the Ground?
Solar pool panels should not normally be placed directly on soil, grass or an unsupported surface.
Direct ground placement can:
-
Restrict drainage
-
Trap moisture and debris
-
Allow vegetation to grow around the panels
-
Increase the risk of accidental damage
-
Provide inadequate header support
-
Prevent proper mounting
-
Create uneven stress on the collectors
A properly designed rack keeps the panels supported, secured, drained and oriented toward available sunlight.
Can Solar Pool Panels Be Installed Flat on the Ground?
An experienced DIYer may be able to construct a straightforward ground rack, but the structural requirements should not be underestimated.
The rack may require professional design or review when:
-
It is located in a high-wind area
-
The property experiences snow loads
-
The rack is unusually tall or steep
-
Soil conditions are poor
-
The array contains many panels
-
Local permits require stamped engineering
-
The installation is in a flood or coastal zone
-
The rack will be located close to a property boundary
If you are uncertain about the structural design, consult a licensed contractor or engineer.
Request a Free Ground-Mount Solar Pool Heater Design
Before constructing your rack, allow us to help determine the solar collector area and panel combination recommended for your pool.
Provide:
-
Pool dimensions
-
Installation ZIP code
-
Desired swimming season
-
Available ground area
-
Approximate distance from the pool equipment
-
Photographs of the proposed location
-
Any known shading or elevation concerns
We can recommend a panel configuration and help you determine whether 4 × 8, 4 × 10 or 4 × 12 Techno-Solis panels make the best use of the available space.
[REQUEST A FREE GROUND-MOUNT SYSTEM DESIGN]
Telephone: (941) 209-1422
Email: info@diysolarpoolheaterkits.com